
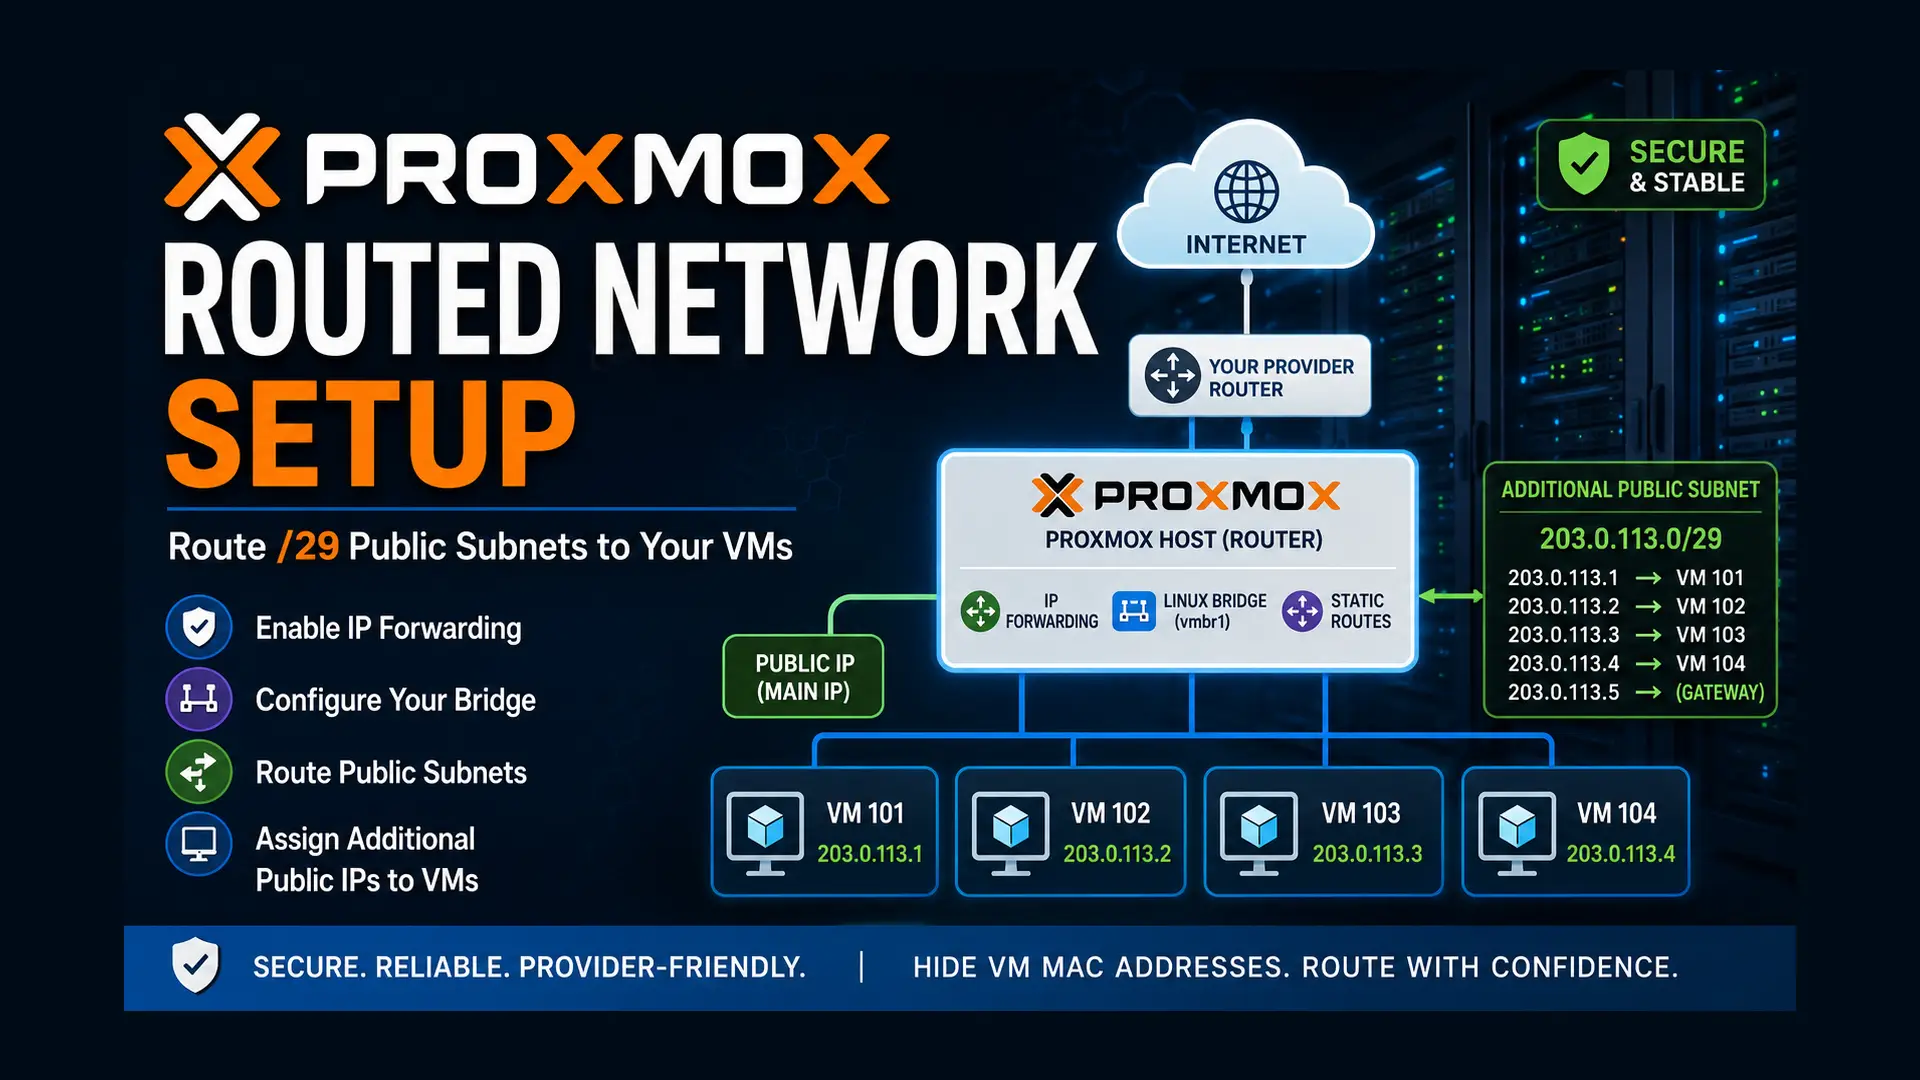
If you have ever rented a bare-metal dedicated server, installed Proxmox Virtual Environment (VE), and purchased an additional block of public IP addresses (like a /29 or /28 subnet) to assign to your virtual machines, you likely encountered a massive headache right out of the gate.
You create the virtual machine, assign it one of your new public IPs, and... nothing. The VM has no internet access. Worse, you try to tweak the default network bridge, and suddenly your entire dedicated server drops offline, forcing you to reboot into a rescue system to fix your /etc/network/interfaces file.
This is the most common pitfall for new Proxmox administrators. The root cause usually lies in how your hosting provider manages network traffic. Most enterprise data centers employ strict MAC address filtering on their network switches to prevent IP spoofing. If your Proxmox server attempts to broadcast traffic from a Virtual Machine using a MAC address that the physical switch doesn't recognize, the provider's automated security systems will drop the packets—or even null-route your entire server.
To solve this, you must abandon the standard "Bridged" network approach and configure a Routed Network.
In a routed setup, your Proxmox host acts as a literal router. It accepts traffic for your additional public IPs and forwards it internally to the correct Virtual Machines, completely hiding the VMs' virtual MAC addresses from the provider's upstream switch. In this comprehensive, step-by-step guide, we will walk you through configuring a routed network in Proxmox, enabling IP forwarding, setting up point-to-point routing, and getting your VMs online safely.
What You'll Learn
Prerequisites and Network Information
Step 1: Enable IPv4 & IPv6 Forwarding
Step 2: Proxmox Network Interfaces
Step 3: Apply the Configuration
Step 4: VM Setup (GUI)
Step 5: Guest VM Configuration
Step 6: Testing & Troubleshooting
Security Considerations
Conclusion
Prerequisites and Network Information
Before we modify any system files, you must gather your exact network details. Changing network configurations can lock you out of your server. Always ensure you have out-of-band management access (like IPMI, iDRAC, or a KVM console) provided by your host before proceeding.
For the sake of this tutorial, we will use the following dummy IP addresses. You must replace these with the actual IPs provided by your hosting company:
-
Main Server IP (The Proxmox Host): 198.51.100.10
-
Main Subnet Mask: /24 (or 255.255.255.0)
-
Main Gateway: 198.51.100.1
-
Physical Network Interface Name: eno1 (This might be eth0, enp3s0, etc. Check this in your Proxmox GUI under Node > Network).
-
Your Additional IP Block:
-
New Subnet: 203.0.113.0/29
-
Usable IPs: 203.0.113.1 through 203.0.113.6 (You cannot use the network address .0 or the broadcast address .7).
-
Step 1: Enable IPv4 and IPv6 Forwarding in the Kernel
By default, the Linux kernel running underneath Proxmox is designed to act as an endpoint, not a router. It will not forward traffic destined for other IP addresses. We must tell the kernel to enable IP forwarding.
Log into your Proxmox host via SSH as the root user.
Open the
sysctl.conffile using the nano text editor:
nano /etc/sysctl.confScroll down and find the following lines. They will likely have a # (comment) at the beginning. Remove the # to uncomment them, or simply add them to the bottom of the file if they do not exist:
net.ipv4.ip_forward=1
net.ipv6.conf.all.forwarding=1
Note: Even if you are only setting up IPv4 right now, enabling IPv6 forwarding is best practice to future-proof your configuration.
Save the file and exit nano (Ctrl+O, Enter, Ctrl+X).
Apply the changes immediately to the running kernel without rebooting by executing:
sysctl -pYou should see the terminal output the two lines you just added, confirming the kernel is now permitted to route packets.
Step 2: Configuring the Proxmox Network Interfaces
This is the most critical step. We are going to edit the /etc/network/interfaces file. In a default Proxmox installation, you usually have a physical interface (like eno1) bound to a bridge (vmbr0). The bridge holds your main server IP. We are going to alter this so that your main IP stays on eno1, and vmbr0 acts as a gateway for your Virtual Machines.
First, make a backup of your working network configuration. If things go wrong, you can easily restore it via your KVM console:
cp /etc/network/interfaces /etc/network/interfaces.backupOpen the network interfaces file:
nano /etc/network/interfacesModify the file to look like the routed configuration below. Pay close attention to the comments explaining each section.
# Loopback interface
auto lo
iface lo inet loopback

# Your physical network interface
auto eno1
iface eno1 inet static
    address 198.51.100.10/24
    gateway 198.51.100.1
    # Enable proxy ARP so the host answers ARP requests for the VMs
    post-up echo 1 > /proc/sys/net/ipv4/conf/eno1/proxy_arp

# The Virtual Bridge for your VMs
auto vmbr0
iface vmbr0 inet static
    # Assign the host IP to the bridge as well, using a /32 mask
    address 198.51.100.10/32
    bridge-ports none
    bridge-stp off
    bridge-fd 0

    # --- ROUTING YOUR ADDITIONAL IPS ---
    # You must add a route for every single usable IP in your /29 block
    # pointing them to the vmbr0 interface.
    up ip route add 203.0.113.1/32 dev vmbr0
    up ip route add 203.0.113.2/32 dev vmbr0
    up ip route add 203.0.113.3/32 dev vmbr0
    up ip route add 203.0.113.4/32 dev vmbr0
    up ip route add 203.0.113.5/32 dev vmbr0
    up ip route add 203.0.113.6/32 dev vmbr0
Understanding the Configuration
-
bridge-ports none: This is the magic of the routed setup. In a bridged setup, this would be set to eno1. By setting it to none, we disconnect the bridge from the physical network card. The VMs on vmbr0 can no longer broadcast their MAC addresses to your provider's switch.
-
address 198.51.100.10/32 on vmbr0: We give the bridge the exact same IP as the host machine, but with a /32 subnet mask (meaning it is a single IP, not a range). This makes the Proxmox host the default gateway for the VMs.
-
proxy_arp: Proxy ARP allows the Proxmox host to say to the upstream router, "Yes, I am 203.0.113.1, send that traffic to me," and then the host routes it internally to the VM.
-
up ip route add...: These commands tell the Proxmox kernel that whenever traffic arrives destined for your new /29 IPs, it should push that traffic out onto the vmbr0 virtual switch where your VMs are listening.
Step 3: Apply the Network Configuration
With the file saved, we need to restart the networking service.
WARNING: If there is a typo in your file, your server will lose internet connectivity. Ensure you have your IPMI/KVM console ready just in case.
Instead of a full server reboot, we will use the ifreload command (part of the ifupdown2 package standard in modern Proxmox versions):
ifreload -aIf the command returns with no errors, and your SSH session does not freeze, congratulations! Your routed network core is successfully configured. You can test your host's internet connection by pinging Google:
ping 8.8.8.8Step 4: Configuring the Virtual Machine (Proxmox GUI)
Now that the host is acting as a router, we need to create a Virtual Machine and attach it to the network.
Log into your Proxmox Web GUI.
Create a new VM (or select an existing one).
Go to the Hardware tab of the VM.
If there is an existing Network Device, double-click it. If not, click Add > Network Device.
Set the Bridge to vmbr0.
MAC Address: Leave this as auto. Because we are using a routed setup, your hosting provider will never see this MAC address, so you do not need to request virtual MACs from your provider's control panel.
Click OK.
Step 5: Configuring the Network Inside the Guest VM
This is where the second major point of confusion occurs. In a normal network, you would assign the VM an IP, a subnet mask, and the provider's gateway.
In a Proxmox routed setup, the Gateway for your VM is always the Main IP of your Proxmox Host.
Because your Proxmox host is physically on a different subnet (198.51.100.0/24) than your new VM IP (203.0.113.0/29), we must use a trick called Point-to-Point routing. We have to tell the VM how to reach the gateway before it can use the gateway.
Below are instructions for the two most common Linux network managers: Debian/Ubuntu (Interfaces) and modern Ubuntu (Netplan).
Option A: Debian or Older Ubuntu (/etc/network/interfaces)
Start your VM and open its console.
Edit the network file:
nano /etc/network/interfacesConfigure it as follows, replacing the IPs with your data:
auto lo
iface lo inet loopback

auto eth0
iface eth0 inet static
    # Assign the first usable IP from your /29 block
    address 203.0.113.1/32

    # Point-to-Point Routing
    # 1. Create a direct route to the Proxmox Host IP
    up ip route add 198.51.100.10 dev eth0

    # 2. Set the Proxmox Host IP as the default gateway
    up ip route add default via 198.51.100.10
Save and restart networking: systemctl restart networking.
Option B: Modern Ubuntu (Netplan)
Ubuntu versions 18.04 and newer use Netplan for network configuration via YAML files.
Start your VM and open its console.
Find your Netplan configuration file (usually in
/etc/netplan/). It will be named something like00-installer-config.yamlor01-netcfg.yaml.Edit the file:
nano /etc/netplan/00-installer-config.yamlConfigure the YAML structure. YAML is extremely sensitive to indentation (use spaces, not tabs).
network:
  version: 2
  renderer: networkd
  ethernets:
    eth0:
      # Use a /32 subnet mask for the routed IP
      addresses:
        - 203.0.113.1/32
      nameservers:
        addresses:
          - 8.8.8.8
          - 1.1.1.1
      routes:
        # Route to the Proxmox Host
        - to: 198.51.100.10
          scope: link
        # Set the default gateway
        - to: default
          via: 198.51.100.10
Save the file and apply the configuration:
netplan try
# If it asks for confirmation, hit ENTER to apply.
Step 6: Testing and Troubleshooting
At this point, your Virtual Machine should have full bi-directional internet access.
From inside the VM, attempt to ping the outside world:
ping 8.8.8.8From your local computer (outside the server environment), attempt to ping the VM's new public IP:
ping 203.0.113.1Common Troubleshooting Steps
-
Error: "Destination Host Unreachable" from the VM
Check IP Forwarding: Did you successfully run
sysctl -pon the Proxmox host? If IP forwarding is off, the host will drop the VM's packets immediately.Check
proxy_arp: Ensureecho 1 > /proc/sys/net/ipv4/conf/eno1/proxy_arpexecuted correctly on the host. Without proxy ARP, the upstream router doesn't know the Proxmox host is holding the /29 subnet.
-
Error: Network drops immediately after creating the VM
Provider MAC Lockout: Double-check that your Proxmox host's
/etc/network/interfaceshasbridge-ports noneunder vmbr0. If this is set to eno1, your VM just broadcasted a rogue MAC address to your provider's switch, and you were likely temporarily blocked.
-
Error: Cannot ping the Gateway inside the VM
Typo in Point-to-Point routes: Ensure the
up ip route add(in Debian) or theroutes:block (in Netplan) accurately points to the Main IP of the Proxmox host, not the provider's gateway. The VM cannot reach the provider's gateway directly; it must hop through the Proxmox host first.
Security Considerations: The Proxmox Firewall
Because your VM now has a direct, public IP address, it is fully exposed to the internet. Unlike a home router that uses NAT (Network Address Translation) to hide devices, there is no hardware firewall protecting this VM by default. It is highly recommended to enable the Proxmox Datacenter Firewall.
In the Proxmox GUI, navigate to Datacenter > Firewall and turn it ON.
Navigate to your specific VM > Firewall and ensure it is enabled.
Add rules to drop all incoming traffic by default, and only allow necessary ports (like TCP 22 for SSH, TCP 80/443 for web traffic).
Alternatively, you should immediately configure UFW or firewalld inside the guest operating system to secure the exposed ports.
Conclusion
Configuring a routed network in Proxmox is initially counter-intuitive compared to standard local bridging. However, for dedicated servers hosted in massive enterprise environments, it is the safest and most reliable architectural choice.
By removing the reliance on provider-specific virtual MAC addresses, enabling kernel IP forwarding, and utilizing point-to-point routing, you take complete control of your networking stack. Your Proxmox server is now a robust, fully functioning edge router, capable of seamlessly managing hundreds of additional public IP addresses for your virtual infrastructure without ever triggering an upstream security null-route.