
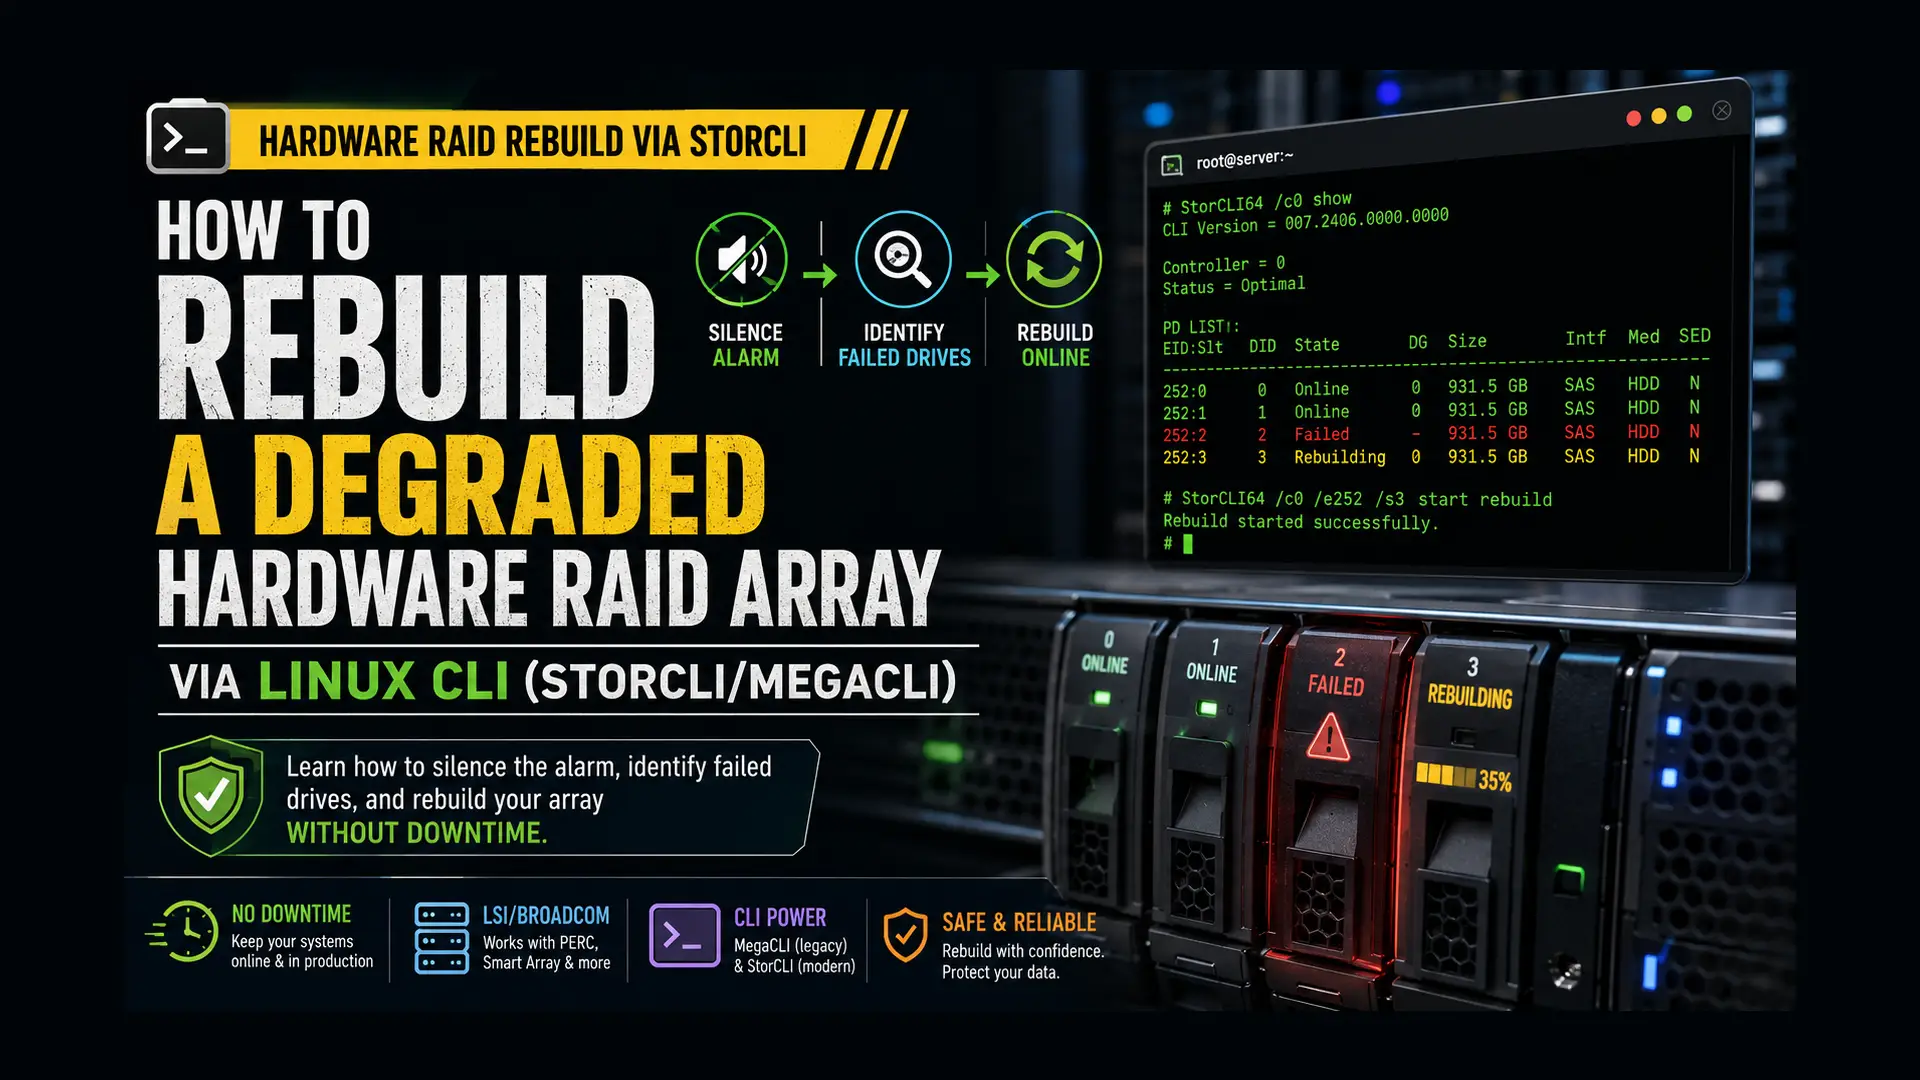
Few things induce panic in a system administrator quite like logging into a dedicated server and seeing a sluggish system, paired with frantic emails from the datacenter that your server rack is emitting a piercing, continuous beep.
You have suffered a drive failure. Your hardware RAID array is degraded.
Hardware RAID controllers—specifically those manufactured by LSI/Broadcom (often rebranded by Dell as PERC, or HP as Smart Array)—are the enterprise standard for data redundancy. They offload the intense parity math of RAID 5 or RAID 10 from your main CPU to a dedicated processor.
However, when a drive dies, the standard response from inexperienced admins is to schedule emergency downtime, reboot the server, hit Ctrl+R or Ctrl+H to enter the controller's pre-boot WebBIOS, and manually assign the new drive. This downtime is entirely unnecessary.
LSI/Broadcom provides powerful command-line utilities—MegaCLI (for older cards) and StorCLI (the modern replacement)—that allow you to manage the physical disks, silence the alarm, and rebuild the array directly from the Linux terminal while the server remains online and in production. In this comprehensive guide, we will translate the notoriously cryptic syntax of these CLI tools into plain English, allowing you to confidently swap a failed drive and rebuild your array without dropping a single packet.
What You'll Learn
Understanding Your Tools: MegaCLI vs. StorCLI
Step 1: Don't Panic and Silence the Alarm
Step 2: Identify the Failed Drive
Step 3: Prepare the Drive for Physical Replacement
Step 4: The Remote Hands Assist
Step 5: Verify the New Drive and Start the Rebuild
Step 6: Monitor the Rebuild Progress
Step 7: Verification of a Healthy Array
Conclusion
Understanding Your Tools: MegaCLI vs. StorCLI
Before we begin, you must determine which tool to use.
-
MegaCLI is the legacy tool. It was the standard for LSI 92xx series controllers and older. Its syntax is incredibly unforgiving, case-sensitive, and difficult to memorize.
-
StorCLI is the modern successor. Designed for LSI 93xx, 94xx, and newer MegaRAID controllers, StorCLI utilizes a much cleaner, object-oriented syntax (e.g.,
storcli /c0/eall/sall show).
Tip: StorCLI is backward-compatible with most older cards. If you have the choice, always install and use StorCLI.
Both tools require root privileges. You can usually install them via your distribution's package manager if you add the manufacturer's repository, or by downloading the .rpm or .deb packages directly from the Broadcom website.
Step 1: Don't Panic and Silence the Alarm
When a physical disk fails or drops offline, the RAID controller immediately triggers a piezoelectric buzzer on the PCIe card. It is loud, obnoxious, and designed to force you into action. Your first step is to silence it so you (and the datacenter staff) can think clearly.
Using StorCLI to Silence the Alarm
To check the current status of the alarm on Controller 0:
storcli /c0 show alarmTo silence the alarm:
storcli /c0 set alarm=silence(Note: You can also use alarm=off, but silence is preferred. Silence mutes the current event but leaves the alarm active for future failures).
Using MegaCLI to Silence the Alarm
To silence the alarm on Controller 0 (-a0):
MegaCli -AdpBbuCmd -a0
MegaCli -AdpSetProp AlarmSilence -a0
Step 2: Identify the Failed Drive (Enclosure and Slot ID)
To replace a drive, you cannot just tell the datacenter "Drive 3 is dead." The operating system's label (/dev/sdc) does not reliably map to the physical slot on the server chassis.
Hardware RAID controllers identify drives using two numbers:
Enclosure ID (EID): The backplane the drive is plugged into.
Slot ID (Slt): The physical bay number on that backplane.
You must find the EID:Slt combination for the failed drive.
Identifying the Drive with StorCLI
Run the following command to show all drives on all enclosures for Controller 0:
storcli /c0/eall/sall showYou will see an output table resembling this:
EID:Slt DID State  DG       Size Intf Med SED PI SeSz Model            Sp
-------------------------------------------------------------------------
252:0     4 Onln    0   3.637 TB SATA HDD N   N  512B ST4000NM0033     U
252:1     5 Onln    0   3.637 TB SATA HDD N   N  512B ST4000NM0033     U
252:2     6 UBad    -   3.637 TB SATA HDD N   N  512B ST4000NM0033     U
252:3     7 Onln    0   3.637 TB SATA HDD N   N  512B ST4000NM0033     U
How to read this: Look at the State column.
Onln: Online and functioning in a Disk Group (DG).
UBad: Unconfigured Bad (The drive has failed).
Offln: Offline (The drive disconnected).
UGood: Unconfigured Good (A healthy drive not currently in an array).
In our example, the failed drive is Enclosure 252, Slot 2.
Identifying the Drive with MegaCLI
MegaCLI's output is much more verbose. We will pipe it through egrep to filter the noise:
MegaCli -PDList -aALL | egrep 'Enclosure Device ID:|Slot Number:|Inquiry Data:|Firmware state:'The output will look like this:
Enclosure Device ID: 252
Slot Number: 1
Firmware state: Online, Spun Up
Inquiry Data: SEAGATE ST4000NM0033
Enclosure Device ID: 252
Slot Number: 2
Firmware state: Unconfigured(bad)
Inquiry Data: SEAGATE ST4000NM0033
Here again, we can see Enclosure 252, Slot 2 is in an Unconfigured(bad) state.
Step 3: Prepare the Drive for Physical Replacement
Before you rip a drive out of a running server, it is best practice to cleanly detach it from the controller logic. If the drive is in a UBad state, the controller has already dropped it. However, if the drive is throwing predictive failure SMART errors but is technically still Onln, you must offline it manually.
3A. Set the Drive Offline (If necessary)
(Skip this if the drive already says UBad or Offln)
StorCLI:
storcli /c0/e252/s2 set offlineMegaCLI:
MegaCli -PDOffline -PhysDrv [252:2] -a03B. Mark the Drive as Missing
Next, we tell the controller that we acknowledge the drive is gone from the array.
StorCLI:
storcli /c0/e252/s2 set missingMegaCLI:
MegaCli -PDMarkMissing -PhysDrv [252:2] -a03C. Spin Down the Drive for Removal
Finally, prepare the drive for physical extraction. This parks the read/write heads and spins down the platters, preventing physical damage to the drive bay during the swap.
StorCLI:
storcli /c0/e252/s2 spindownMegaCLI:
MegaCli -PdPrpRmv -PhysDrv [252:2] -a0Step 4: The Remote Hands Assist (Lighting the Beacon)
If your server is in a remote datacenter, you must open a support ticket to have an onsite technician physically swap the drive. Do not just tell them "Slot 2." Chassis numbering can be confusing (some manufacturers start at 0, some start at 1, some number vertically, some horizontally). If the technician pulls the wrong drive from a degraded RAID 5 array, you will instantly lose all your data.
To prevent this, turn on the physical LED locator beacon on the drive caddy. This will make the specific drive blink rapidly, giving the technician a foolproof visual indicator.
StorCLI (Turn ON):
storcli /c0/e252/s2 start locate(To turn it off later, use stop locate)
MegaCLI (Turn ON):
MegaCli -PdLocate -start -PhysDrv [252:2] -a0Now, submit your support ticket: "Please replace the failed 4TB SATA HDD. I have illuminated the locator LED on the drive caddy. It should be located in Enclosure 252, Slot 2."
Step 5: Verify the New Drive and Start the Rebuild
Once the datacenter technician replies that the drive has been swapped, it is time to bring the array back to full health. First, verify that the controller sees the new, healthy drive.
StorCLI:
storcli /c0/eall/sall showYou should see Enclosure 252, Slot 2 now has a state of UGood (Unconfigured Good).
The Auto-Rebuild Caveat
In many modern LSI controllers, inserting a new, blank drive of the exact same size into a degraded array will trigger an Auto-Rebuild. Check the status using the show command above. If the state says Rbld, the controller has already started doing the work for you. You can skip to Step 6 to monitor it. If the state remains UGood, you must initiate the rebuild manually.
Manually Starting the Rebuild
To rebuild, we must assign the UGood drive to the degraded Disk Group.
StorCLI: In StorCLI, you do this by telling the controller to start rebuilding that specific drive slot.
storcli /c0/e252/s2 start rebuildMegaCLI: MegaCLI requires a more explicit assignment. If the drive is UGood but the array is degraded, you can sometimes just assign it as a Global Hot Spare, and the controller will instantly grab it and start rebuilding.
MegaCli -PDHSP -Set -PhysDrv [252:2] -a0If you want to manually force the rebuild process instead of using the Hot Spare logic:
MegaCli -PDRbld -Start -PhysDrv [252:2] -a0Step 6: Monitor the Rebuild Progress
Rebuilding a hardware RAID array is an intensely I/O-heavy operation. Depending on the size of the drives (e.g., rebuilding a 14TB HDD) and the RAID level (RAID 5 takes much longer than RAID 10 due to parity calculations), this process can take anywhere from a few hours to a few days.
During this time, your server will remain online and accessible, but you will likely notice degraded disk performance. It is critical to monitor the rebuild to ensure it doesn't encounter read errors on the surviving drives (which can happen during the stress of a rebuild).
Checking Progress with StorCLI
To see a quick percentage of the rebuild:
storcli /c0/e252/s2 show rebuildOutput example:
---------------------------------------------------
Drive       Status  %Complete Time Left      ErrCd
---------------------------------------------------
/c0/e252/s2 In prog 34        4 Hours 12 Min 0
---------------------------------------------------
Checking Progress with MegaCLI
MegaCLI provides a straightforward progress readout:
MegaCli -PDRbld -ShowProg -PhysDrv [252:2] -a0Output example:
Rebuild Progress on Device at Enclosure 252, Slot 2 Completed 34% in 120 Minutes.Controlling Rebuild Rates (Optional)
If the rebuild is consuming too much disk I/O and slowing down your production web applications, you can lower the rebuild rate. The rebuild rate dictates the percentage of hardware resources dedicated to rebuilding versus serving OS read/write requests. The default is usually 30%. Lowering it to 10% will make your web server faster, but the rebuild will take three times as long.
StorCLI: (View current rate)
storcli /c0 show rebuildrateStorCLI: (Set rate to 20%)
storcli /c0 set rebuildrate=20Step 7: Verification of a Healthy Array
Once the rebuild reaches 100%, check the status of the array one final time.
StorCLI:
storcli /c0/vdiskall showLook for the State column next to your Virtual Drive (VD). It should have transitioned from Degraded to Optl (Optimal).
Check the physical drives:
storcli /c0/eall/sall showThe new drive in Slot 2 should now say Onln. Your hardware RAID array is now fully restored, redundant, and operating at peak performance.
Conclusion
A degraded RAID array is a ticking clock, but it does not require a panicked, disruptive response.
By mastering StorCLI and MegaCLI, you elevate yourself from a basic server administrator to a bare-metal engineer. You gain the ability to silence alarms, precisely identify failing hardware, direct remote datacenter staff with pinpoint accuracy, and restore petabytes of data redundancy—all from the comfort of a standard SSH session, without your end-users ever knowing a piece of hardware died.