
As a system administrator, nothing induces panic quite like a total OS drive failure on a remote dedicated server. While file-level backup tools like Restic or Borg are fantastic for restoring deleted directories or migrating application data, they are fundamentally useless if the server cannot even boot.
When a bare-metal server’s primary drive dies or the bootloader is completely corrupted, standard file backups mean a 4 to 8 hour ordeal. You have to open a support ticket to physically replace the drive, wait for a fresh OS installation, manually reconfigure your complex network bridges or bonding, reinstall your packages, and then finally pull your file backups.
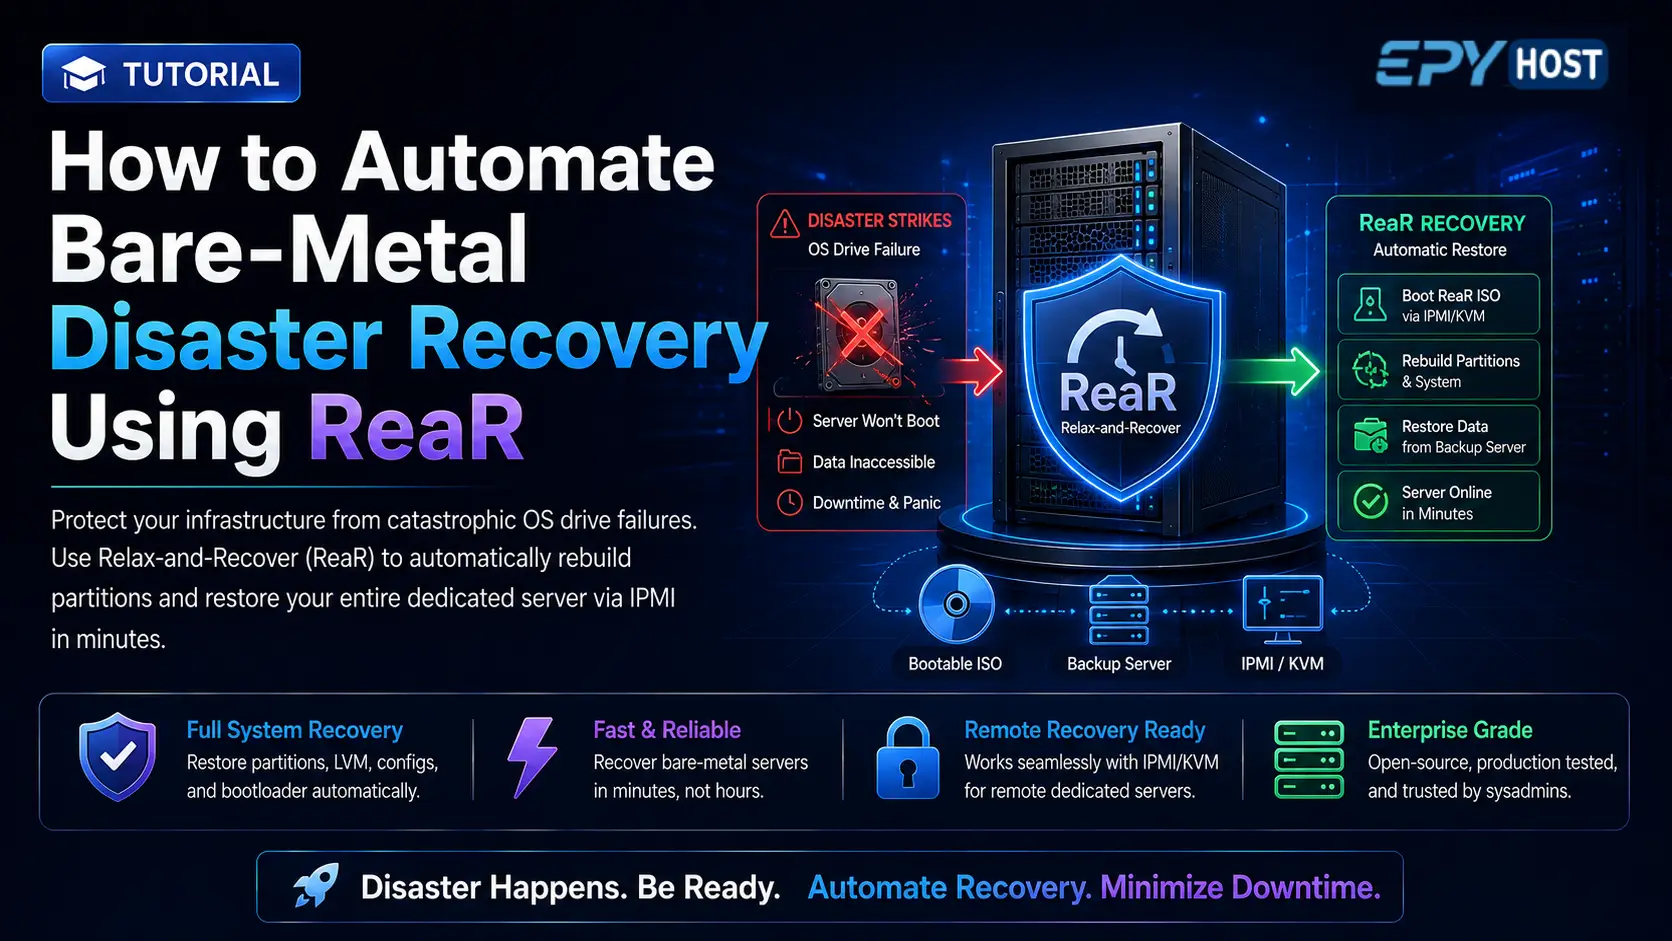
This tutorial introduces the ultimate sysadmin secret for dedicated server redundancy: Relax-and-Recover (ReaR). ReaR is an enterprise-grade, open-source disaster recovery framework. It takes a complete snapshot of your server’s current state (partition tables, LVMs, network configs, and bootloader) and generates a tiny, custom, bootable ISO file. When disaster strikes, you simply mount this ISO via your EPY Host IPMI/KVM, and the tool automatically formats the new blank drive, perfectly recreates your partitions, pulls your data from a remote backup server, and reinstalls the bootloader.
What You'll Learn
The Bare-Metal Nightmare vs. ReaR
Prerequisites and SSH Key Authentication
Installing and Configuring ReaR
Generating the Disaster Recovery ISO
Simulating a Catastrophic Drive Failure
Executing Bare-Metal Recovery via IPMI
Post-Recovery Verification
Explore Dedicated Servers
The Bare-Metal Nightmare vs. ReaR
To understand why ReaR is so powerful, you must understand the difference between data backups and system backups.
Most server backup guides focus purely on data. They assume that if a server goes down, you will just spin up a new operating system and paste your application files back into place. However, on highly customized bare-metal servers (especially virtualization nodes running Proxmox or complex database servers), the operating system is the application. You might have complex ZFS datasets, custom mdadm RAID arrays, intricately bonded network interfaces (bond0), and specific kernel parameters.
ReaR bridges this gap by acting as a system cloner and disaster recovery orchestrator.
How it works under the hood:
ReaR analyzes your live system's block devices, file systems, and bootloader.
It writes out a bash script that contains the exact commands needed to recreate this layout from scratch.
It bundles this script, along with a minimal Linux kernel and your necessary network drivers, into an
.isofile.It then uses a backend tool (like tar or rsync) to copy your actual file data to a remote storage server.
During recovery, the ISO boots a temporary RAM-disk OS, executes the partition script on the new drive, formats it, pulls the files back, and runs
grub-install.
Prerequisites and SSH Key Authentication
To set up an automated bare-metal disaster recovery pipeline, you will need two machines:
The Target Server: Your EPY Host dedicated server that you want to protect (Ubuntu/Debian or AlmaLinux/Rocky).
The Backup Server: A remote storage server, a cheap VPS, or a NAS that has plenty of storage space and supports SSH/Rsync.
For ReaR to run automatically on a cron schedule without asking for a password, your Target Server must be able to authenticate to the Backup Server using SSH keys.
1. Generate an SSH Key on the Target Server:
Run this as the root user on the dedicated server you are backing up.
ssh-keygen -t ed25519 -N "" -f /root/.ssh/id_ed25519
2. Copy the Key to the Backup Server:
Assuming your backup server's IP is 198.51.100.50 and you have a user named backupuser.
ssh-copy-id [email protected]
Test the connection. You should be able to run ssh [email protected] and log in without a password prompt.
Installing and Configuring ReaR
With the SSH keys in place, we can now install ReaR and its dependencies on your primary dedicated server.
For Ubuntu/Debian:
sudo apt update
sudo apt install rear rsync syslinux-utils extlinux grub-efi -y
For AlmaLinux/Rocky/RHEL:
sudo dnf install rear rsync syslinux grub2-efi-x64-modules -y
Next, we need to configure ReaR. The entire behavior of the tool is controlled by a single configuration file located at /etc/rear/local.conf.
Open the file in your preferred text editor:
sudo nano /etc/rear/local.conf
Paste the following configuration. Be sure to replace the BACKUP_URL and OUTPUT_URL with your actual backup server details.
# Create a bootable ISO image
OUTPUT=ISO

# Ensure the ISO contains UEFI bootloader support (crucial for modern bare-metal)
OUTPUT_OPTIONS="efi_boot_update"

# Use Rsync to copy the file data
BACKUP=RSYNC

# Where to store the data backup (rsync over ssh)
BACKUP_URL=rsync://[email protected]/home/backupuser/rear_data/

# Where to store the bootable ISO file
OUTPUT_URL=ssh://[email protected]/home/backupuser/rear_iso/

# Exclude unnecessary directories to speed up the backup
BACKUP_PROG_EXCLUDE=( '/tmp/*' '/dev/shm/*' '/mnt/*' '/media/*' '/var/lib/docker/volumes/*' )

# Ensure SSH keys are included in the recovery ISO so you can SSH into the rescue environment if needed
SSH_ROOT_PASSWORD="recoverypassword"
-
Note on UEFI vs BIOS: Most modern EPY Host dedicated servers boot via UEFI. Ensure
grub-efi(Ubuntu) orgrub2-efi(RHEL) is installed on your system, or ReaR will fail to create a bootable ISO.
Generating the Disaster Recovery ISO
With the configuration saved, you are ready to take your first bare-metal snapshot.
Run the backup creation command with the -v (verbose) flag so you can monitor the process:
sudo rear -v mkbackup
What is happening during this process?
ReaR first scans your hardware. It maps out
/dev/sda,/dev/nvme0n1, any LVM volume groups, and your exact network interface MAC addresses.It generates the custom
rear-hostname.isofile and securely transfers it to your backup server via SSH to the/home/backupuser/rear_iso/directory.It then triggers
rsyncto sync your entire root filesystem (/) over to the backup server into the/home/backupuser/rear_data/directory.
The initial backup will take some time depending on how much data is on your drive. However, because it uses rsync, subsequent runs will be incredibly fast, only copying the changed bytes.
You can safely add rear mkbackup to your root crontab to run automatically every night at 2:00 AM:
0 2 * * * /usr/sbin/rear mkbackup >/dev/null 2>&1
Simulating a Catastrophic Drive Failure
To truly trust a disaster recovery plan, you must test it.
Imagine your EPY Host dedicated server's primary NVMe drive has violently failed. The server crashed, and upon rebooting, the BIOS reports "No Bootable Device Found". You contact EPY Host support, and they physically swap the dead NVMe drive with a brand new, completely blank NVMe drive.
You are now looking at a dead server with a blank drive. Your file data and your magical recovery ISO are sitting safely on your remote backup server (198.51.100.50).
Your immediate action plan:
Log into your remote backup server.
Download the
rear-hostname.isofile from/home/backupuser/rear_iso/directly to your local workstation (your laptop).
This is where the magic happens. We will use the server's Out-Of-Band management (IPMI/KVM) to mount the ISO over the internet and rebuild the server.
Executing Bare-Metal Recovery via IPMI
Step 1: Mount the ISO
Log into your EPY Host client portal and access the IPMI / KVM console for your dedicated server.
Open the Java KVM or HTML5 KVM console.
Locate the Virtual Media tab in the top menu.
Select CD-ROM Image or ISO File.
Browse your local workstation, select the
rear-hostname.isoyou downloaded, and click Mount or Plug In.
Step 2: Boot from the ISO
Reboot the server via the KVM power controls.
As the server turns on, repeatedly press F11 (Supermicro) or F12 (Dell) to enter the Boot Menu.
Select the Virtual CD-ROM as your boot device.
You will be greeted by the Relax-and-Recover boot menu. Select the top option: Recover hostname.
Step 3: Execute the Automated Recovery
The ISO will boot into a minimal, root-shell Linux environment loaded strictly into RAM. Because ReaR saved your network configuration, the server will automatically bring up its public IP address!
At the root prompt, type the single command that saves the day:
rear recover
The tool will now:
Prompt you to confirm the disk layout (press Enter to accept).
Automatically run fdisk/sgdisk to partition your new blank NVMe drive exactly as the old one was.
Recreate any LVM physical volumes, groups, and logical volumes.
Format the partitions with ext4 or xfs.
Connect out to your backup server (198.51.100.50) via rsync.
Download and extract all your system files, databases, and application data directly onto the new partitions.
Run chroot into the newly restored drive and execute
grub-installto rewrite the bootloader to the UEFI partition.
Post-Recovery Verification
Once the rear recover script announces it has finished successfully, you only have two small steps left:
Unmount the ISO from the Virtual Media menu in the IPMI console so the server doesn't accidentally boot into it again.
Type
rebootin the terminal.
When the server powers back on, it will boot directly from the new physical drive.
Because ReaR restores the server exactly as it was at the moment of the last backup, all of your SSH keys, user passwords, iptables firewall rules, running services, and complex network bridges will be perfectly intact. Your downtime is reduced from an 8-hour nightmare of manual configuration to a 20-minute coffee break while the ISO syncs the files.
Ready for Bulletproof Bare-Metal?
Now that you know how to build an automated, disaster-proof recovery pipeline, you need reliable hardware to match. EPY Host offers high-performance, fully customizable bare-metal infrastructure designed for mission-critical workloads. Whether you are running complex virtualization nodes, massive databases, or high-traffic applications, we have the perfect server for you.