
Hosting sensitive financial data, healthcare records, or critical enterprise applications on a dedicated server requires more than just a standard firewall. While tools like iptables or UFW are excellent at blocking unauthorized ports, they are completely blind to the actual content of the traffic. If an attacker sends a malicious SQL injection payload or a zero-day exploit over an allowed port (like port 443), a standard firewall will let it right through.
To detect these deep-level threats, you need an Intrusion Detection System (IDS).
Historically, deploying an IDS on a high-bandwidth server was a nightmare. Older tools like Snort operated on a single thread using standard libpcap capture methods. On a 10Gbps EPY Host dedicated server, traditional packet capture copies every packet from kernel space to user space, instantly maxing out the CPU and causing massive packet drops. When an IDS drops packets, it goes blind, leaving you unprotected during high traffic bursts.
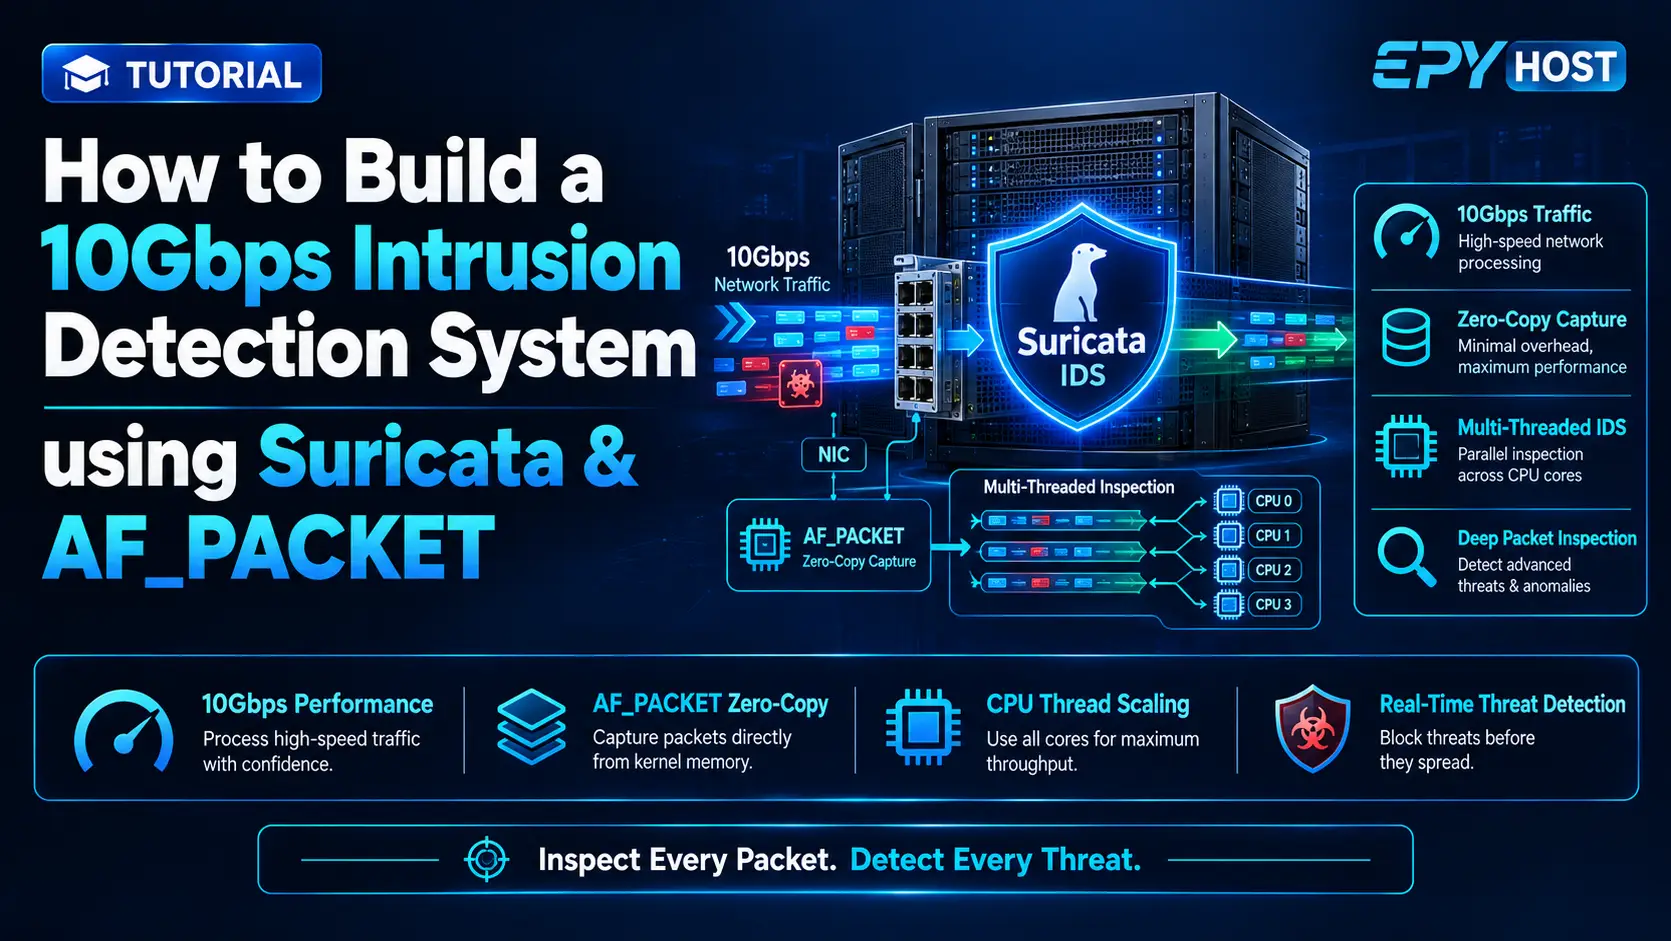
In this tutorial, you will learn how to build an enterprise-grade, high-speed IDS using Suricata. By utilizing Suricata's multi-threaded architecture alongside AF_PACKET (a Linux kernel feature that creates a zero-copy memory map directly from the network card to the application), your dedicated server will be able to deeply inspect gigabits of traffic in real-time across all CPU cores without dropping a single frame.
What You'll Learn
The 10Gbps Challenge: pcap vs. AF_PACKET
Prerequisites and Disabling NIC Offloading
Installing Suricata and ET Open Rules
Configuring AF_PACKET for Zero-Copy Capture
CPU Affinity and Thread Pinning
Testing the IDS and Verifying Packet Drops
The 10Gbps Challenge: pcap vs. AF_PACKET
Before diving into configuration, it is critical to understand the architecture that makes 10Gbps packet inspection possible.
When a packet arrives at your network interface card (NIC), the Linux kernel processes it. In a traditional IDS setup using libpcap, the kernel reads the packet, interrupts the CPU, allocates memory in kernel space, and then copies that exact data into user space so the IDS application can read it. At 10 million packets per second (a saturated 10Gbps link), this double-handling of memory causes the server to choke.
AF_PACKET changes this paradigm entirely. Instead of copying packets, AF_PACKET creates a shared memory ring buffer between the kernel and Suricata. When the NIC receives a packet, it is written directly to this shared memory ring. Suricata reads the packet directly from that memory location (Zero-Copy).
Furthermore, we will use a clustering method called cluster_flow. This tells the Linux kernel to calculate a hash based on the packet's source IP, destination IP, and ports (the 5-tuple). It ensures that all packets belonging to the same TCP connection are sent to the exact same CPU core, preventing out-of-order packet inspection and maximizing CPU cache hits.
Prerequisites and Disabling NIC Offloading
To follow this tutorial, you need an EPY Host dedicated server running Ubuntu 24.04 or Debian 12.
Before installing Suricata, we must disable hardware offloading on your network card. Modern NICs use features like Large Receive Offload (LRO) and Generic Receive Offload (GRO) to merge small packets into massive "super-packets" before the operating system sees them. This is great for raw throughput, but it alters the original packet structure. If Suricata sees a reconstructed "super-packet", the IDS signatures will fail to match, and exploits will bypass your detection.
1. Identify your main network interface:
ip link show
(Assume your primary public interface is eno1)
2. Disable GRO and LRO using ethtool:
sudo apt update
sudo apt install ethtool -y
sudo ethtool -K eno1 gro off lro off
3. Make this persistent across reboots:
Create a systemd service to run this on boot.
sudo nano /etc/systemd/system/disable-offload.service
Add the following content:
[Unit]
Description=Disable GRO/LRO for Suricata IDS
After=network.target
[Service]
Type=oneshot
ExecStart=/sbin/ethtool -K eno1 gro off lro off
RemainAfterExit=yes
[Install]
WantedBy=multi-user.target
Enable the service:
sudo systemctl enable --now disable-offload.service
Installing Suricata and ET Open Rules
We will install Suricata from the official repositories, alongside suricata-update, a tool used to fetch the latest threat signatures (rulesets) from the Emerging Threats (ET) database.
1. Install the packages:
sudo add-apt-repository ppa:oisf/suricata-stable
sudo apt update
sudo apt install suricata jq -y
2. Update the threat signatures:
Suricata needs to know what malicious traffic looks like. The ET Open ruleset contains thousands of signatures for malware, botnets, and exploits.
sudo suricata-update
This command downloads the latest rules and compiles them into a single file located at /var/lib/suricata/rules/suricata.rules.
You should configure a cron job to update these rules automatically every night to stay protected against new zero-day threats:
sudo crontab -e
Add:
0 2 * * * /usr/bin/suricata-update && systemctl restart suricata > /dev/null 2>&1
Configuring AF_PACKET for Zero-Copy Capture
Now we must edit the main configuration file to optimize Suricata for a high-bandwidth environment.
Open the Suricata YAML configuration file:
sudo nano /etc/suricata/suricata.yaml
1. Define your network variables:
Find the HOME_NET variable. This tells Suricata which IP addresses belong to your server so it knows whether an attack is inbound or outbound. Replace it with your dedicated server's actual public IP or subnet (e.g., 203.0.113.50/32).
vars:
  address-groups:
    HOME_NET: "[203.0.113.50/32, 10.0.0.0/8]"
    EXTERNAL_NET: "!$HOME_NET"
2. Configure the AF_PACKET interface:
Scroll down to the af-packet section. This is where we implement the zero-copy memory ring and define how the kernel load-balances traffic across our CPU cores.
Modify the block to look exactly like this (replace eno1 with your interface):
af-packet:
  - interface: eno1
    cluster-id: 99
    cluster-type: cluster_flow
    defrag: yes
    use-mmap: yes
    mmap-locked: yes
    tpacket-v3: yes
    ring-size: 100000
    block-size: 1048576
Explanation of critical settings:
cluster-type: cluster_flow: Hashes the connection state so all packets for a specific TCP stream hit the same CPU thread.use-mmap: yes&tpacket-v3: yes: Enables the high-performance memory-mapped ring buffer between the NIC driver and Suricata.ring-size: 100000: Dramatically increases the buffer size to absorb sudden spikes in volumetric traffic without dropping packets.
CPU Affinity and Thread Pinning
If you have a 16-core or 32-core EPY Host dedicated server, you do not want the Linux OS migrating Suricata threads from one core to another. Moving threads destroys CPU cache, creating micro-stutters that lead to packet loss. We must "pin" Suricata's worker threads to specific CPU cores.
In the same /etc/suricata/suricata.yaml file, find the threading section.
threading:
  set-cpu-affinity: yes
  cpu-affinity:
    - management-cpu-set:
        cpu: [ 0, 1 ]  # Use core 0 and 1 for background tasks
    - receive-cpu-set:
        cpu: [ 0, 1 ]
    - worker-cpu-set:
        cpu: [ 2-15 ]  # Pin packet inspection to cores 2 through 15
        mode: "exclusive"
        prio:
          default: "high"
By setting the worker mode to exclusive, Suricata will lock these CPU cores entirely for deep packet inspection. This is the secret to scaling IDS linearly—if you upgrade to a 32-core server, you simply expand the worker-cpu-set array, and your IDS capacity doubles instantly.
Save the file and restart Suricata to apply the changes:
sudo systemctl restart suricata
sudo systemctl status suricata
Testing the IDS and Verifying Packet Drops
With the IDS running at bare-metal speeds, we need to verify that it is actually catching malicious payloads.
1. Triggering an Alert
From a different computer, simulate an attack against your server by triggering a known signature. A standard way to do this is requesting a specific user-agent or payload that the ET Open ruleset flags as suspicious.
Run this curl command against your dedicated server's IP:
curl http://203.0.113.50/ -A "BlackSun"
(The "BlackSun" user-agent is a well-known signature for older malware).
2. Viewing the Alerts
Check your Suricata fast log to see if the engine caught the payload:
sudo tail -f /var/log/suricata/fast.log
You should immediately see a line resembling: [**] [1:2008983:8] ET USER_AGENTS Suspicious User Agent (BlackSun) [**] {TCP} 198.51.100.10:45832 -> 203.0.113.50:80
3. Verifying Zero Packet Loss
The ultimate test of a 10Gbps IDS is whether it drops packets under load. Suricata continuously logs its performance metrics to stats.log.
Run this command to parse the statistics file and check for kernel drops:
sudo grep capture.kernel_drops /var/log/suricata/stats.log | tail -n 5
If your AF_PACKET ring size, CPU affinity, and hardware offloading are configured correctly, the capture.kernel_drops value should remain consistently at 0, even when your server is pushing gigabits of legitimate traffic.
Final Thoughts
Deploying Suricata with AF_PACKET transforms your EPY Host dedicated server into a formidable, enterprise-grade security appliance. By mapping kernel memory directly to the IDS and pinning worker threads to specific CPU cores, you completely bypass the bottlenecks of legacy network monitoring. Your infrastructure is now capable of performing real-time, deep packet inspection at 10Gbps line rates—ensuring that even the most heavily obfuscated application-layer attacks are detected and logged instantly.