
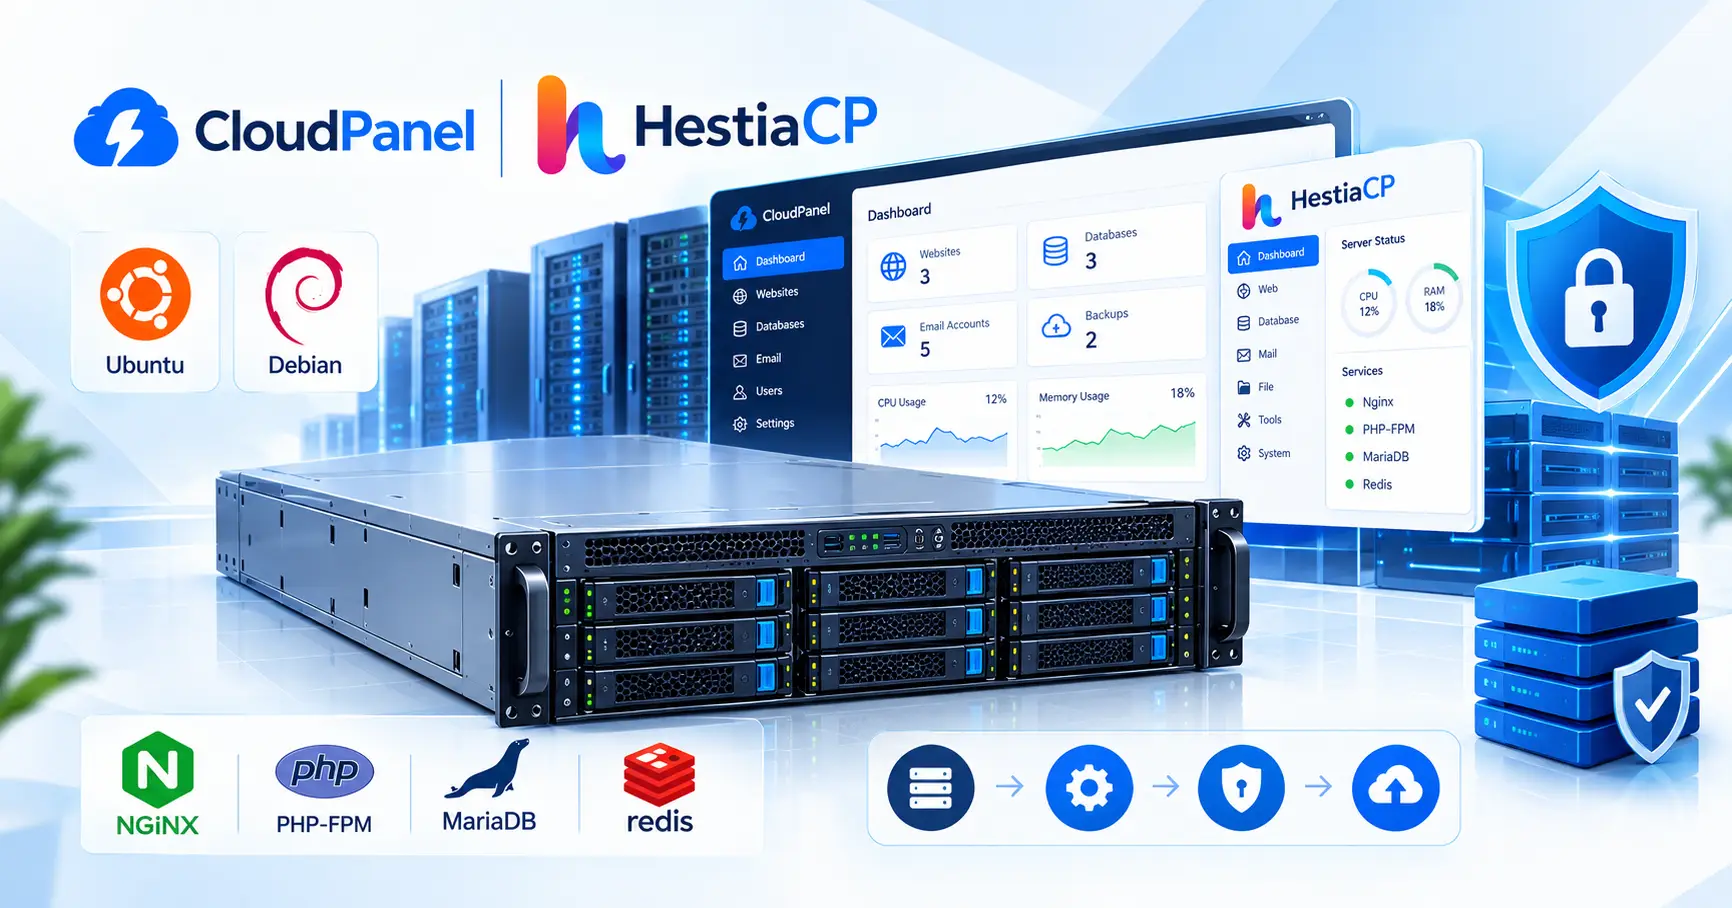
Legacy commercial control panels often consume gigabytes of system memory and run dozens of background daemons before your web applications receive a single request. By deploying lightweight open-source control panels such as CloudPanel or HestiaCP on bare-metal Linux infrastructure, you eliminate unnecessary software bloat and reclaim up to 80% of host RAM and CPU overhead.
This comprehensive, step-by-step guide covers everything required to provision a clean bare-metal server, install a lightweight management stack, optimize Nginx and PHP-FPM runtime performance, automate Let's Encrypt SSL issuance, and implement multi-layer server hardening.
What You'll Learn
Section 1: Selecting and Preparing the Bare-Metal Linux Baseline
Section 2: Deploying a Modern Open-Source Control Panel
Section 3: Optimizing Nginx Reverse Proxy and PHP-FPM Pools
Section 4: Configuring MySQL/MariaDB and Redis Caching
Section 5: Automating Let's Encrypt Wildcard SSL Certificates
Section 6: Enforcing Multi-Layer Security and Port Hardening
Section 7: Setting Up Automated Offsite Backups
Frequently Asked Questions (FAQs)
Section 1: Selecting and Preparing the Bare-Metal Linux Baseline
Lightweight control panels require a completely fresh, unconfigured operating system installation. Installing on top of existing Apache, MySQL, or PHP installations causes dependency conflicts and broken configuration bindings.
Minimum System Requirements
Operating System: Ubuntu 24.04 LTS, Ubuntu 22.04 LTS, or Debian 12 (64-bit)
CPU: 1 Core (2+ Cores recommended for production traffic)
RAM: 2 GB minimum (4 GB+ recommended for database caching and PHP worker pools)
Storage: 10 GB free NVMe/SSD space
Network: 1 Public IPv4 address with reverse DNS (PTR record) configured
Step 1: Update OS Packages and Install Core Dependencies
Connect to your dedicated server via SSH as the root user:
ssh root@your-server-ip
Update the package index, upgrade existing system packages to their latest stable releases, and install required core utilities:
apt update && apt upgrade -y
apt install -y curl wget sudo ca-certificates lsb-release gnupg2 ufw
Step 2: Set a Fully Qualified Domain Name (FQDN) Hostname
Control panels require a valid FQDN (e.g., panel.yourdomain.com) to manage internal routing and issue administrative SSL certificates smoothly.
Set your server hostname and update /etc/hosts:
hostnamectl set-hostname panel.yourdomain.com
Edit /etc/hosts using nano /etc/hosts and ensure your public IP is bound to your FQDN:
127.0.0.1       localhost
YOUR_SERVER_IP  panel.yourdomain.com panel
Verify your hostname resolution:
hostname -f
Section 2: Deploying a Modern Open-Source Control Panel
Depending on your application requirements, choose between CloudPanel (built for maximum PHP/Node.js/Python web performance using Nginx and MySQL) or HestiaCP (ideal for multi-tenant hosting with built-in DNS, Mail, and database management).
Option A: Installing CloudPanel (Optimized for Web Performance)
CloudPanel utilizes a native Nginx stack paired with MySQL or MariaDB and isolated PHP-FPM versions.
-
Download the CloudPanel v2 installation script and verify its checksum:
bashcurl -sS https://installer.cloudpanel.io/ce/v2/install.sh -o install.sh -
Run the installer specifying your preferred database engine (e.g., MySQL 8.4 or MariaDB 10.11):
bashsudo DB_ENGINE=MARIADB_10.11 bash install.sh -
Once the installer completes, note the admin URL displayed in your terminal (typically
https://YOUR_SERVER_IP:8443).
Option B: Installing HestiaCP (Full-Featured Multi-User Hosting)
HestiaCP provides a full hosting suite including DNS management, Exim mail server, and multi-user account isolation.
-
Download the HestiaCP installation script:
bashwget https://raw.githubusercontent.com/hestiacp/hestiacp/release/install/hst-install.sh -
Execute the installer with custom flags to exclude unused services (e.g., disabling ClamAV saves over 1 GB of RAM):
bashbash hst-install.sh --apache no --multiphp yes --clamav no --spamassassin no --fail2ban yes --quota yes --force -
Confirm the prompts, provide your administrative email, and set your FQDN. When the installation finishes, save the generated admin credentials and allow the system to reboot.
Section 3: Optimizing Nginx Reverse Proxy and PHP-FPM Pools
To handle thousands of concurrent requests on bare metal, tune Nginx and PHP-FPM process allocation to match your hardware capabilities.
Step 1: Tune Nginx Core Parameters
Open /etc/nginx/nginx.conf and optimize worker processes and file descriptor limits:
user www-data;
worker_processes auto;
worker_rlimit_nofile 65535;
pid /run/nginx.pid;

events {
    worker_connections 8192;
    use epoll;
    multi_accept on;
}

http {
    sendfile on;
    tcp_nopush on;
    tcp_nodelay on;
    keepalive_timeout 65;
    types_hash_max_size 2048;
    server_tokens off;

    # Gzip Compression
    gzip on;
    gzip_disable "msie6";
    gzip_comp_level 5;
    gzip_min_length 256;
    gzip_types text/plain text/css application/json application/javascript text/xml application/xml application/xml+rss text/javascript image/svg+xml;
}
Reload Nginx to apply changes:
systemctl reload nginx
Step 2: Optimize PHP-FPM Process Manager Pools
By default, PHP-FPM uses dynamic process management, which can lead to memory exhaustion during traffic spikes. For dedicated hardware, calculate static or fine-tuned dynamic pool settings.
Edit your PHP pool file (e.g., /etc/php/8.3/fpm/pool.d/www.conf or site-specific pool configs):
[www]
user = www-data
group = www-data
listen = /run/php/php8.3-fpm.sock
listen.owner = www-data
listen.group = www-data
listen.mode = 0660

pm = dynamic
pm.max_children = 50
pm.start_servers = 10
pm.min_spare_servers = 5
pm.max_spare_servers = 20
pm.max_requests = 1000
Restart PHP-FPM:
systemctl restart php8.3-fpm
Section 4: Configuring MySQL/MariaDB and Redis Caching
Database query execution and object caching represent the primary bottlenecks for web applications on bare metal.
Step 1: Tune MariaDB / MySQL for Available Dedicated RAM
Edit /etc/mysql/mariadb.conf.d/50-server.cnf (or /etc/mysql/mysql.conf.d/mysqld.cnf) and adjust memory parameters based on total server RAM (e.g., for a server with 16 GB RAM, allocate 8 GB to the InnoDB buffer pool):
[mysqld]
# Storage Engine Settings
default_storage_engine = InnoDB
innodb_buffer_pool_size = 8G
innodb_log_file_size = 1G
innodb_buffer_pool_instances = 8
innodb_flush_log_at_trx_commit = 2
innodb_flush_method = O_DIRECT

# Connection Settings
max_connections = 300
key_buffer_size = 128M
max_heap_table_size = 128M
tmp_table_size = 128M

# Query Optimization
slow_query_log = 1
slow_query_log_file = /var/log/mysql/mariadb-slow.log
long_query_time = 2
Restart the database service:
systemctl restart mariadb
Step 2: Install and Configure Redis In-Memory Object Cache
Install Redis server and the PHP Redis extension:
apt install -y redis-server php-redis
Configure Redis memory limits in /etc/redis/redis.conf:
maxmemory 2gb
maxmemory-policy allkeys-lru
Enable and start Redis:
systemctl enable --now redis-server
Section 5: Automating Let's Encrypt Wildcard SSL Certificates
Securing the control panel administrative interface and hosted domains with SSL/TLS is critical. Modern open-source panels integrate certbot and acme.sh directly into their CLI tools.
Step 1: Issue SSL for the Control Panel Administrative Interface
If using CloudPanel, execute the site command to secure the panel domain:
clpctl server:request:certificate --domainName=panel.yourdomain.com
If using HestiaCP, issue a Let's Encrypt SSL certificate for the hostname via CLI:
v-add-letsencrypt-host
Step 2: Configure Wildcard SSL Certificates via DNS API
For applications requiring wildcard SSL certificates (*.yourdomain.com), configure Certbot with Cloudflare DNS API integration:
-
Install the Certbot Cloudflare plugin:
bashapt install -y python3-certbot-dns-cloudflare -
Create a credentials file
/etc/letsencrypt/cloudflare.ini:inidns_cloudflare_api_token = YOUR_CLOUDFLARE_API_TOKEN -
Secure file permissions:
bashchmod 600 /etc/letsencrypt/cloudflare.ini -
Request the wildcard certificate:
bashcertbot certonly \ --dns-cloudflare \ --dns-cloudflare-credentials /etc/letsencrypt/cloudflare.ini \ -d yourdomain.com \ -d '*.yourdomain.com' \ --preferred-challenges dns-01
Section 6: Enforcing Multi-Layer Security and Port Hardening
Securing bare-metal infrastructure requires locking down unused network ports, enforcing SSH key authentication, and mitigating brute-force attacks.
Step 1: Configure UFW Firewall Rules
Define strict ingress firewall rules to allow only essential web, SSH, and panel ports:
# Default policies
ufw default deny incoming
ufw default allow outgoing

# Standard Web Traffic
ufw allow 80/tcp
ufw allow 443/tcp

# SSH Access (Change to custom port if configured)
ufw allow 22/tcp

# Open Control Panel Port (CloudPanel: 8443 / HestiaCP: 8083)
ufw allow 8443/tcp

# Enable Firewall
ufw enable
-
Security Tip: Restrict panel port access strictly to your static office or home IP address:
ufw allow from YOUR_OFFICE_IP to any port 8443 proto tcp
Step 2: Hardening SSH Access
Edit /etc/ssh/sshd_config to block root password logins and enforce key-based authentication:
PermitRootLogin prohibit-password
PasswordAuthentication no
X11Forwarding no
MaxAuthTries 3
Restart the SSH service:
systemctl restart ssh
Step 3: Configure Fail2ban to Mitigate Brute-Force Attacks
Install Fail2ban to monitor authentication logs and automatically block abusive IP addresses:
apt install -y fail2ban
Create a local jail configuration /etc/fail2ban/jail.local:
[DEFAULT]
bantime  = 1h
findtime = 10m
maxretry = 5

[sshd]
enabled = true
port    = ssh
logpath = %(sshd_log)s

[cloudpanel]
enabled = true
port    = 8443
logpath = /var/log/cloudpanel/clp-core.log
Restart Fail2ban:
systemctl restart fail2ban
Section 7: Setting Up Automated Offsite Backups and Disaster Recovery
A local backup on the same bare-metal drive will not protect against drive failure or hardware corruption. Configure automated offsite synchronization to Amazon S3, Backblaze B2, or a remote storage server.
Step 1: Configure Rclone for Offsite Cloud Storage
Install Rclone:
sudo curl https://rclone.org/install.sh | sudo bash
Configure a remote endpoint (e.g., Backblaze B2 or AWS S3):
rclone config
Follow the interactive setup to save a remote named remote-storage.
Step 2: Create an Automated Backup & Sync Cron Job
Write an automated shell script /usr/local/bin/offsite-backup.sh:
#!/bin/bash
BACKUP_DIR="/var/backups/panel"
TIMESTAMP=$(date +%Y%m%d_%H%M%S)
DESTINATION="remote-storage:my-server-backups"

# Create local backup directory
mkdir -p $BACKUP_DIR

# Dump all MySQL databases
mysqldump --all-databases --single-transaction --quick | gzip > $BACKUP_DIR/all_databases_$TIMESTAMP.sql.gz

# Sync website files and database dumps to offsite bucket
rclone sync /home remote-storage:my-server-backups/home --fast-list
rclone copy $BACKUP_DIR $DESTINATION/db-dumps

# Retain local dumps for only 7 days
find $BACKUP_DIR -type f -mtime +7 -delete
Make the script executable and add it to root's crontab:
chmod +x /usr/local/bin/offsite-backup.sh
crontab -e
Add the following cron line to execute backups every night at 2:00 AM:
0 2 * * * /usr/local/bin/offsite-backup.sh > /dev/null 2>&1
Frequently Asked Questions (FAQs)
1. Why choose a lightweight control panel over cPanel or Plesk on bare metal?
Lightweight panels like CloudPanel and HestiaCP are engineered specifically to minimize OS resource overhead. Commercial panels run complex internal daemons, licensors, and legacy services that consume 1 GB to 3 GB of RAM continuously. Lightweight options consume under 200 MB of RAM idle, leaving almost all system CPU, disk I/O, and memory dedicated to serving web application traffic.
2. Is CloudPanel or HestiaCP better suited for my production workload?
Choose CloudPanel if you are running modern PHP, Node.js, Python, or WordPress applications where maximum raw web performance, Nginx tuning, and low database latency are the top priorities.
Choose HestiaCP if you operate a multi-tenant hosting environment where individual client accounts require isolation, dedicated DNS zone management, and integrated POP3/IMAP email hosting.
3. How much RAM and CPU overhead do lightweight control panels actually save?
On a standard bare-metal server, traditional panels consume between 10% and 25% of baseline CPU and memory resources just maintaining management daemons. Lightweight panels reduce background footprint by 70% to 80%, allowing you to host significantly more concurrent site visitors on identical bare-metal hardware.
4. Can I run multiple PHP versions simultaneously on modern lightweight panels?
Yes. Both CloudPanel and HestiaCP support running multiple PHP versions (e.g., PHP 8.1, 8.2, 8.3) concurrently via PHP-FPM socket isolation. You can assign different PHP versions to individual domain names directly through the web dashboard or CLI commands.
5. How do I change the default administrative port for CloudPanel or HestiaCP?
To change the default administrative port (e.g., 8443 for CloudPanel or 8083 for HestiaCP):
Open the Nginx administrative configuration file (e.g.,
/etc/nginx/sites-enabled/cloudpanel.confor/usr/local/hestia/nginx/conf/nginx.conf).Update the
listendirective to your new custom port (e.g.,listen 9443 ssl;).Allow the new port in UFW (
ufw allow 9443/tcp) and reload the management service (systemctl restart nginxorsystemctl restart hestia).
6. Will Let's Encrypt SSL certificates renew automatically behind a firewall?
Yes, provided that port 80 (HTTP) remains open to the public in your firewall. Let's Encrypt HTTP-01 validation requires inbound traffic on port 80 to verify domain ownership. If port 80 is blocked, auto-renewals will fail unless you use DNS-01 API validation challenges instead.
7. How do I restore a server backup if the control panel interface becomes unresponsive?
Since lightweight panels store site data, database dumps, and virtual host configurations in standard Linux directory structures (e.g., /home/, /etc/nginx/, /var/lib/mysql/), you do not rely on proprietary recovery software. You can restore database backups directly via command-line MySQL (gunzip < db.sql.gz | mysql), re-sync site files via rclone or rsync, and restart web services manually via systemctl.
8. Can I migrate websites directly from cPanel to a lightweight open-source panel?
While direct automatic migrations vary by panel, both CloudPanel and HestiaCP provide CLI migration tools and structured backup importers. You can export database dumps and public_html directories from cPanel, transfer them via rsync, import the databases via CLI, and bind the domain to the new lightweight panel in minutes.
Unlock the Full Power of Bare Metal
To truly maximize the performance and resource efficiency of lightweight control panels, you need reliable, dedicated hardware. Explore our highly customizable bare-metal infrastructure designed to handle intense web applications without the noisy neighbor problems found in VPS hosting.