
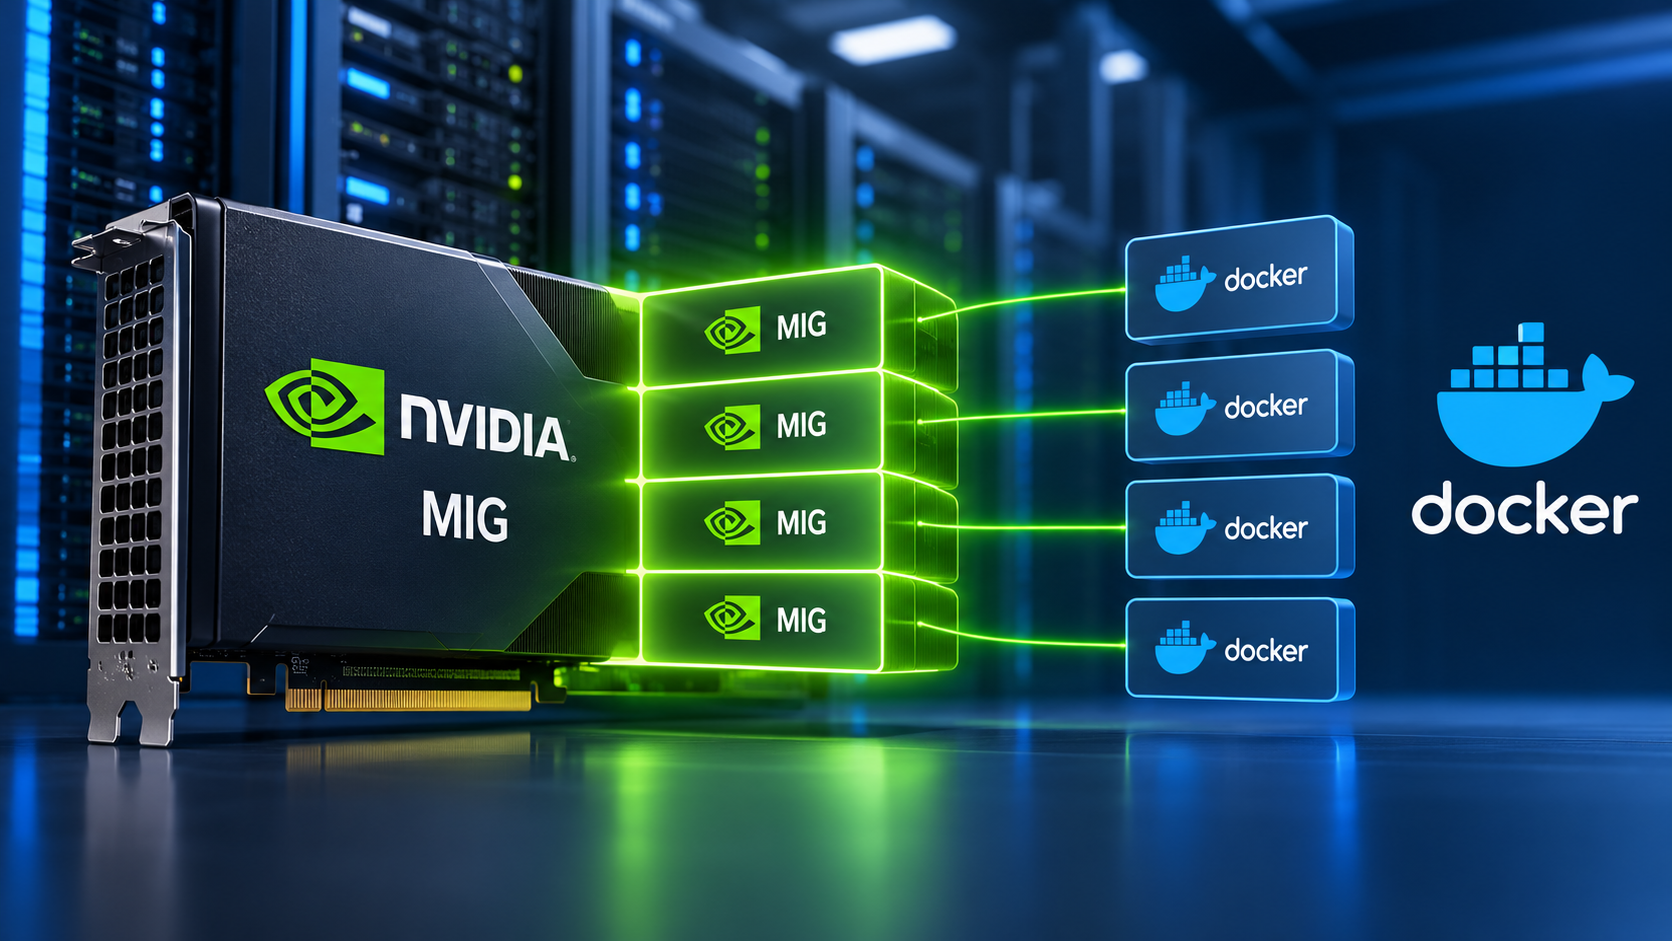
Deploying AI inference and high-performance computing (HPC) workloads on bare-metal servers often leads to inefficient hardware utilization when a single container monopolizes an entire physical GPU. NVIDIA Multi-Instance GPU (MIG) technology solves this by partitioning a single physical GPU—such as an A100, H100, or H200—into up to seven fully isolated hardware instances. Each MIG instance possesses its own dedicated high-bandwidth memory (HBM), crossbars, memory controllers, and CUDA processing cores, guaranteeing strict hardware-level Quality of Service (QoS). In this guide, you will learn how to enable MIG mode on unmanaged bare-metal servers, slice GPUs into custom profiles, configure Docker runtime integration, and deploy multi-tenant containers with guaranteed resource isolation.
What You'll Learn
Section 1: Hardware Requirements and Bare-Metal Prerequisites
Section 2: Enabling MIG Mode on Bare-Metal NVIDIA GPUs
Section 3: Listing Profiles and Provisioning MIG Instances
Section 4: Installing and Configuring NVIDIA Container Toolkit
Section 5: Inspecting MIG Device UUIDs and Mapping to Docker
Section 6: Deploying Multi-Tenant Containers with Isolated MIG Profiles
Section 7: Benchmarking and Verifying Hardware Isolation
Frequently Asked Questions (FAQs)
Section 1: Hardware Requirements and Bare-Metal Prerequisites
Before enabling MIG mode, verify that your bare-metal server contains supported hardware and enterprise datacenter drivers.
Supported GPU Architectures
Hardware-level MIG is exclusively supported on datacenter-grade GPUs:
NVIDIA Ampere Architecture: A100 (40GB / 80GB PCIe & SXM), A30
NVIDIA Hopper Architecture: H100 (80GB PCIe & SXM), H200 (141GB)
NVIDIA Blackwell Architecture: B200 / GB200 series
-
Note: PCIe desktop or rendering GPUs (such as RTX 4090, L4, or L40S) do not support hardware MIG. They rely on software time-slicing or NVIDIA MPS (Multi-Process Service) for sharing.
Driver & OS Prerequisites
Operating System: Ubuntu 22.04 LTS / 24.04 LTS or AlmaLinux 8 / 9 (64-bit)
NVIDIA Driver: Datacenter Driver branch v535, v550, or newer
Container Engine: Docker Engine v24.0+ and
nvidia-container-toolkit
Verify that your GPU is detected correctly by the driver:
nvidia-smi --query-gpu=name,driver_version,pci.bus_id --format=csv
Section 2: Enabling MIG Mode on Bare-Metal NVIDIA GPUs
By default, enterprise GPUs operate in standard single-instance mode. Enabling MIG mode changes the GPU configuration and requires resetting the card or rebooting the server.
Step 1: Query Current MIG Mode Status
Check whether MIG mode is currently enabled on your primary GPU (Index 0):
nvidia-smi -i 0 --query-gpu=mig.mode.current,mig.mode.pending --format=csv
Step 2: Enable MIG Mode on Target GPU
Enable MIG mode on GPU 0 using the -mig 1 flag:
sudo nvidia-smi -i 0 -mig 1
If successful, nvidia-smi will output a confirmation message:
Enabled MIG mode for GPU 00000000:01:00.0
Operation completed.
Step 3: Handle GPU Reset Requirements
If active processes (such as display managers, monitoring agents, or CUDA applications) are attached to the GPU, driver rebind may fail. Reset the GPU or perform a clean reboot:
# Attempt a warm GPU reset
sudo nvidia-smi --gpu-reset

# If the reset is blocked by active processes, reboot the server
sudo reboot
After rebooting, verify that mig.mode.current reads Enabled:
nvidia-smi -i 0 --query-gpu=mig.mode.current --format=csv
Section 3: Listing Profiles and Provisioning MIG Instances
MIG allows you to partition a GPU into combinations of GPU Instances (GI) and Compute Instances (CI). Profile nomenclature indicates the slice size and memory allocation (e.g., 1g.10gb represents 1/7th of CUDA/media engines with 10 GB HBM memory on an 80 GB card).
Step 1: List Available GPU Instance Profiles
Query all supported profiles for your physical GPU:
nvidia-smi mig -lgip
On an NVIDIA A100 80GB, the output displays profile IDs, instance counts, and memory allocations:
+------------------------------------------------------------------+
| GPU instance profiles:                                           |
| GPU   Profile ID   Name          Instances   Memory    SMs       |
|==================================================================|
|   0            19  MIG 1g.10gb         7/7     9.75GB    14      |
|   0            14  MIG 2g.20gb         3/3    19.62GB    28      |
|   0             9  MIG 3g.40gb         2/2    39.25GB    42      |
|   0             0  MIG 7g.80gb         1/1    78.50GB    98      |
+------------------------------------------------------------------+
Step 2: Create GPU Instances and Compute Instances
You can provision homogeneous slices (e.g., seven 1g.10gb instances) or heterogeneous slices (e.g., one 3g.40gb instance and four 1g.10gb instances).
Option A: Create 7 Equal 1g.10gb Partition Slices
Use Profile ID 19 to create 7 instances and automatically provision matching compute instances using the -C flag:
sudo nvidia-smi mig -cgi 19,19,19,19,19,19,19 -C
Option B: Create Mixed Partitions (1x 3g.40gb + 2x 2g.20gb)
To partition an 80GB GPU for a mix of large LLM inference and smaller worker services:
sudo nvidia-smi mig -cgi 9,14,14 -C
Step 3: Verify Provisioned MIG Instances
Confirm that the partitions were created successfully:
nvidia-smi mig -lgi
Section 4: Installing and Configuring NVIDIA Container Toolkit
To expose hardware MIG partitions directly to Docker containers, install and configure the official NVIDIA Container Toolkit.
Step 1: Add the NVIDIA Package Repositories
Configure the GPG key and APT repository on Ubuntu/Debian:
curl -fsSL https://nvidia.github.io/libnvidia-container/gpgkey | sudo gpg --dearmor -o /usr/share/keyrings/nvidia-container-toolkit-keyring.gpg

curl -s -L https://nvidia.github.io/libnvidia-container/experimental/deb/libnvidia-container.list | \
  sed 's#deb [^ ]*#deb [signed-by=/usr/share/keyrings/nvidia-container-toolkit-keyring.gpg]#g' | \
  sudo tee /etc/apt/sources.list.d/nvidia-container-toolkit.list
Update package lists and install the toolkit:
sudo apt-get update
sudo apt-get install -y nvidia-container-toolkit
Step 2: Configure the Docker Runtime
Configure Docker to use the nvidia container runtime by default:
sudo nvidia-ctk runtime configure --runtime=docker
Step 3: Enable MIG Strategy in Runtime Configuration
Open /etc/nvidia-container-runtime/config.toml in an editor:
sudo nano /etc/nvidia-container-runtime/config.toml
Ensure the environment section includes the mig-monitor strategy so Docker can automatically parse MIG device UUIDs:
[nvidia-container-cli]
environment = []

[nvidia-container-runtime]
debug = "/var/log/nvidia-container-runtime.log"

[nvidia-container-runtime.modes.mig]
strategy = "single"
Restart the Docker service:
sudo systemctl restart docker
Section 5: Inspecting MIG Device UUIDs and Mapping to Docker
Unlike standard physical GPUs (GPU-0, GPU-1), MIG partitions receive unique, long-form device UUIDs that include both the parent GPU identifier and instance offset.
Step 1: List Full MIG Device UUIDs
Execute nvidia-smi -L to print all physical GPUs alongside their child MIG instance UUIDs:
nvidia-smi -L
The output will list the parent GPU followed by its MIG instances:
GPU 0: NVIDIA A100-PCIE-80GB (UUID: GPU-a1b2c3d4-e5f6-7890-abcd-ef1234567890)
  MIG 1g.10gb Device 0: (EntityID: 1) (UUID: MIG-11111111-2222-3333-4444-555555555555)
  MIG 1g.10gb Device 1: (EntityID: 2) (UUID: MIG-66666666-7777-8888-9999-000000000000)
  MIG 1g.10gb Device 2: (EntityID: 3) (UUID: MIG-aaaaaaaa-bbbb-cccc-dddd-eeeeeeeeeeee)
Step 2: Verify Single MIG Instance Exposure to Docker
Test attaching a single MIG instance UUID to a basic CUDA Docker container:
docker run --rm --gpus '"device=MIG-11111111-2222-3333-4444-555555555555"' \
  nvidia/cuda:12.3.0-base-ubuntu22.04 nvidia-smi
The container's nvidia-smi output will show only its assigned 10GB slice instead of the entire 80GB physical GPU.
Section 6: Deploying Multi-Tenant Containers with Isolated MIG Profiles
With MIG partitions active, you can deploy multiple independent AI microservices—such as Ollama, vLLM, and PyTorch workers—on a single bare-metal host with zero resource contention.
Example 1: Launching Isolated Inference Containers via CLI
Launch two separate containers bound to different MIG instances:
# Worker 1: Bound to MIG Device 0 (Ollama Model Server)
docker run -d \
  --name ollama-mig-0 \
  --gpus '"device=MIG-11111111-2222-3333-4444-555555555555"' \
  -p 11434:11434 \
  -v ollama_data:/root/.ollama \
  ollama/ollama

# Worker 2: Bound to MIG Device 1 (vLLM Engine)
docker run -d \
  --name vllm-mig-1 \
  --gpus '"device=MIG-66666666-7777-8888-9999-000000000000"' \
  -p 8000:8000 \
  vllm/vllm-openai:latest \
  --model mistralai/Mistral-7B-Instruct-v0.2 --gpu-memory-utilization 0.95
Example 2: Multi-Tenant Setup using Docker Compose
For production infrastructure, manage MIG allocation using docker-compose.yml:
version: '3.8'

services:
  embedding-service:
    image: pytorch/pytorch:2.2.0-cuda12.1-cudnn8-runtime
    container_name: embedding-service
    environment:
      - NVIDIA_VISIBLE_DEVICES=MIG-11111111-2222-3333-4444-555555555555
    deploy:
      resources:
        reservations:
          devices:
            - driver: nvidia
              device_ids: ['MIG-11111111-2222-3333-4444-555555555555']
              capabilities: [gpu]
    command: python3 -m embedding_worker

  llm-inference-service:
    image: pytorch/pytorch:2.2.0-cuda12.1-cudnn8-runtime
    container_name: llm-inference-service
    environment:
      - NVIDIA_VISIBLE_DEVICES=MIG-aaaaaaaa-bbbb-cccc-dddd-eeeeeeeeeeee
    deploy:
      resources:
        reservations:
          devices:
            - driver: nvidia
              device_ids: ['MIG-aaaaaaaa-bbbb-cccc-dddd-eeeeeeeeeeee']
              capabilities: [gpu]
    command: python3 -m llm_worker
Section 7: Benchmarking and Verifying Hardware Isolation
Unlike software-level process sharing, hardware MIG guarantees that an Out-Of-Memory (OOM) crash or high compute load in Container A cannot degrade performance or crash Container B.
Step 1: Stress Test Memory Allocation in Container A
Run a script in Container A that intentionally attempts to allocate 100% of its assigned MIG memory until it triggers a CUDA OOM error:
docker run --rm \
  --gpus '"device=MIG-11111111-2222-3333-4444-555555555555"' \
  pytorch/pytorch:2.2.0-cuda12.1-cudnn8-runtime \
  python3 -c "import torch; x = torch.ones((10, 1024, 1024, 1024), device='cuda')"
Step 2: Monitor Real-Time Isolation on Host
While Container A runs, monitor MIG instance metrics from the bare-metal host:
nvidia-smi mig -m
You will observe that:
Container A's OOM failure is contained within MIG Device 0.
MIG Device 1 and MIG Device 2 maintain stable memory access, low latency, and zero cross-talk faults.
Frequently Asked Questions (FAQs)
1. What is the difference between MIG and NVIDIA Time-Slicing or MPS?
MIG (Multi-Instance GPU): Provides physical, hardware-level partitioning. CUDA cores, memory crossbars, and HBM memory bandwidth are dedicated exclusively to each slice. If one instance crashes or saturates memory, others remain unaffected.
Time-Slicing: Software context-switching where multiple processes share the same CUDA cores sequentially. Offers no memory isolation or performance guarantees.
MPS (Multi-Process Service): Multiplexes CUDA queues into a single server process. Improves compute saturation for small jobs but lacks hardware fault and memory bandwidth isolation.
2. Can I dynamically reconfigure MIG profiles while containers are actively running?
No. Creating or deleting MIG instances requires that no active CUDA processes or containers are bound to the specific parent GPU instance. You must stop running Docker containers before altering profile configurations with nvidia-smi mig -dgi or nvidia-smi mig -cgi.
3. Why does nvidia-smi inside a container show less total memory than the physical GPU?
This is expected behavior. When a container is attached to a MIG instance (e.g., 1g.10gb), the NVIDIA driver isolates the hardware context so the container detects only its assigned subset of memory and compute engines (9.75 GB instead of the full 80 GB).
4. What happens if an application inside a MIG container triggers an Out-Of-Memory (OOM) error?
The CUDA OOM exception is strictly confined to the specific MIG instance assigned to that container. Other MIG instances operating on the same physical GPU continue running without interruption, memory degradation, or hardware resets.
5. Can I combine multiple MIG instances into a single virtual device for larger workloads?
No. A single container process can be assigned multiple MIG UUIDs, but CUDA applications will view them as separate, independent GPU devices (similar to having multiple PCI cards installed). To run a single large model requiring full GPU resources, destroy the smaller MIG instances and provision a 7g.80gb profile or disable MIG mode.
6. How do I clear all MIG instances and revert the GPU back to single-user mode?
To delete all active MIG partitions and restore full GPU access:
Stop all attached Docker containers.
Destroy all GPU instances:
sudo nvidia-smi mig -dgiDisable MIG mode:
sudo nvidia-smi -i 0 -mig 0Warm-reset the GPU or reboot the host:
sudo nvidia-smi --gpu-reset
7. Does MIG support pass-through to KVM or Proxmox Virtual Machines?
Yes. Bare-metal hosts running KVM or Proxmox VE can pass individual MIG device nodes directly to guest virtual machines via VFIO PCIe passthrough. This allows you to carve up a single enterprise GPU across multiple isolated VMs.
8. Which MIG profile is optimal for self-hosting Small Language Models (SLMs) like Llama-3 8B or Mistral 7B?
For 7B/8B parameter models quantized to INT4 or FP8, a 2g.20gb profile (providing ~20 GB HBM memory) is ideal. On an A100 80GB, you can run three concurrent high-throughput instances of Llama-3 8B on a single physical server card.
Accelerate Your AI with Dedicated GPU Servers
To leverage the full hardware potential of NVIDIA MIG virtualization and large-scale AI workloads, you need enterprise-class infrastructure without noisy neighbors. Experience uninterrupted processing power with our high-bandwidth bare-metal solutions.